
Welcome to the Green World: Your DIY Herbalism Kit Journey Begins
Welcome, green thumbs and wellness enthusiasts, to the world of herbalism, where nature's bounty meets health and harmony. Ever wondered about the benefits of herbalism? It's a practice that taps into the ancient wisdom of our ancestors, harnessing the power of herbs to soothe, heal, and invigorate.
Imagine having your very own DIY herbalism kit, a treasure trove of natural remedies at your fingertips. Picture this: a cold, dreary day transformed by a steaming cup of herbal tea, brewed from herbs you've lovingly grown and harvested. Or a stressful day eased by a soothing herbal tincture, crafted in your own kitchen. Intrigued? You should be.
Creating your own herbalism kit empowers you to take control of your wellbeing, and it's easier than you might think. Ready to embark on this rewarding journey? Let's dive in and explore the step-by-step guide to herbalism, together.

Building Blocks of Your Herbalism Kit: What You Can't Do Without
The Herbal VIPs: Essential Herbs for Your Kit
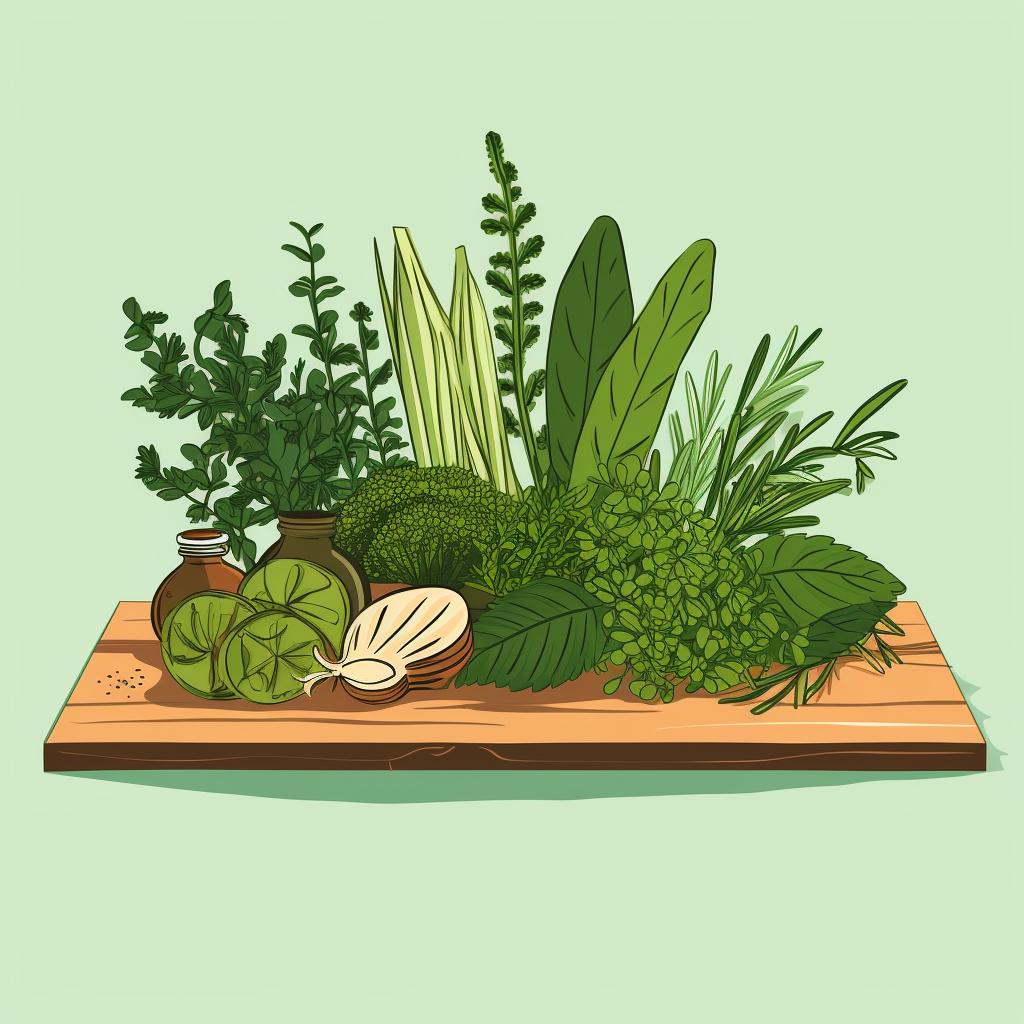
Embarking on the journey of making your own DIY herbalism kit is like stepping into a world of nature's miracles. The first stars of your kit? Let's talk about Chamomile, Lavender, and Peppermint. Chamomile, the comforter, is famous for its calming effects, making it a go-to for those restless nights. Lavender, the stress-buster, is known to soothe anxiety and promote better sleep. Lastly, Peppermint, the invigorator, is a natural remedy for digestive issues and headaches.
Why these three? They're easy to grow, even for beginners, and their benefits are vast. But remember, the beauty of herbalism lies in its flexibility. Your kit can be as unique as you are, tailored to meet your specific needs. So, are you ready to dive into the world of herbalism and discover more herbs to add to your kit?
Must-Have Herbs and Their Uses
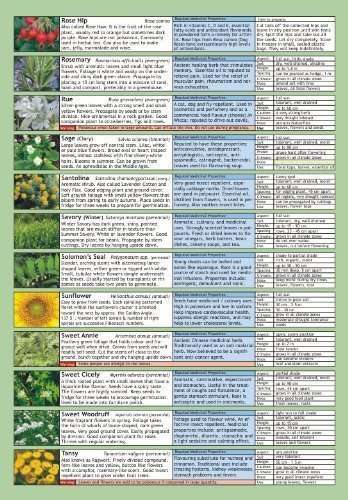
To help you get started, here's a chart of some must-have herbs and their uses. This list is by no means exhaustive, but it's a good starting point for beginners.
| Herb | Use | |
|---|---|---|
| Peppermint | Helps with digestion, relieves headaches, and can boost energy | 🌱 |
| Lavender | Promotes relaxation, helps with sleep, and can relieve stress | 💜 |
| Chamomile | Calms nerves, aids in digestion, and can help with sleep | 🌼 |
| Echinacea | Boosts the immune system and can help fight off colds and flu | 🌸 |
| Ginger | Helps with nausea, reduces inflammation, and can boost the immune system | 🧡 |
| Rosemary | Improves memory, aids in digestion, and has anti-inflammatory properties | 💚 |
| St. John's Wort | Helps with depression, anxiety, and nerve pain | 💛 |
| Turmeric | Powerful anti-inflammatory, antioxidant, and can help with depression | 💛 |
Now that you have an idea of the herbs to include in your kit, let's move on to the essential tools you'll need to prepare and store them.
Your Herbalism Toolkit: The Necessities for Crafting Herbal Remedies
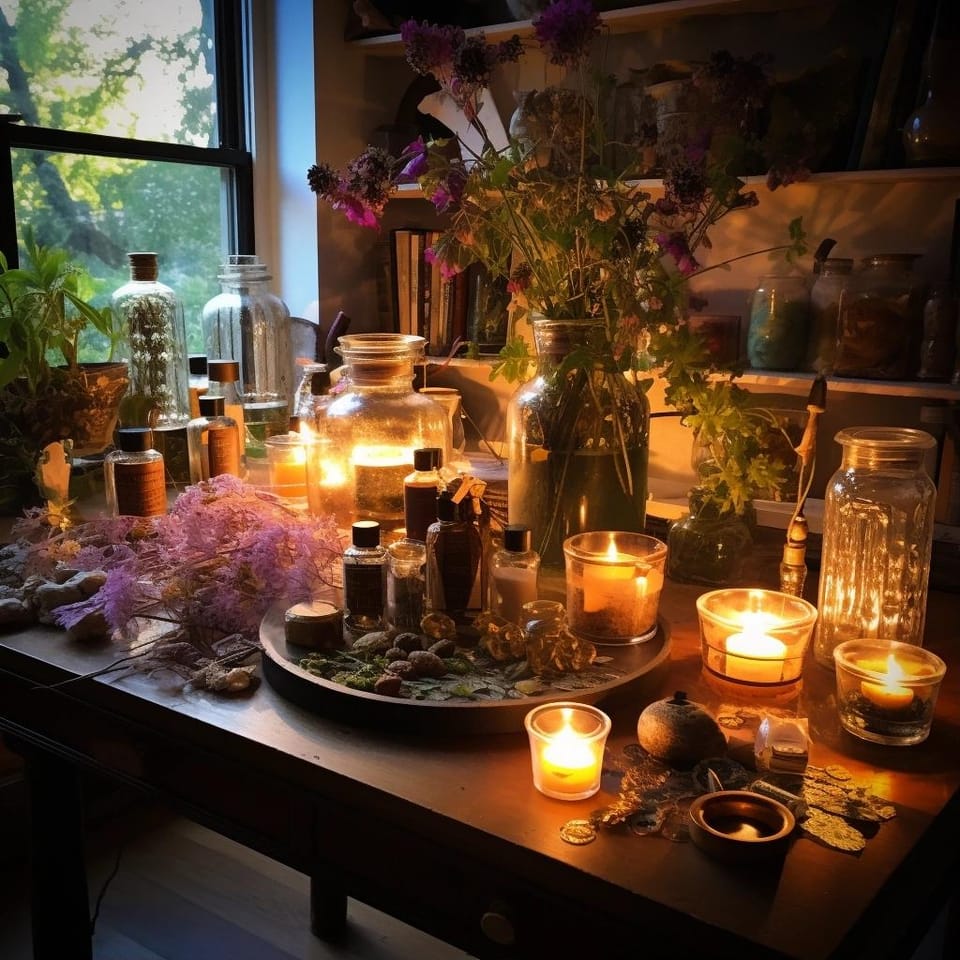
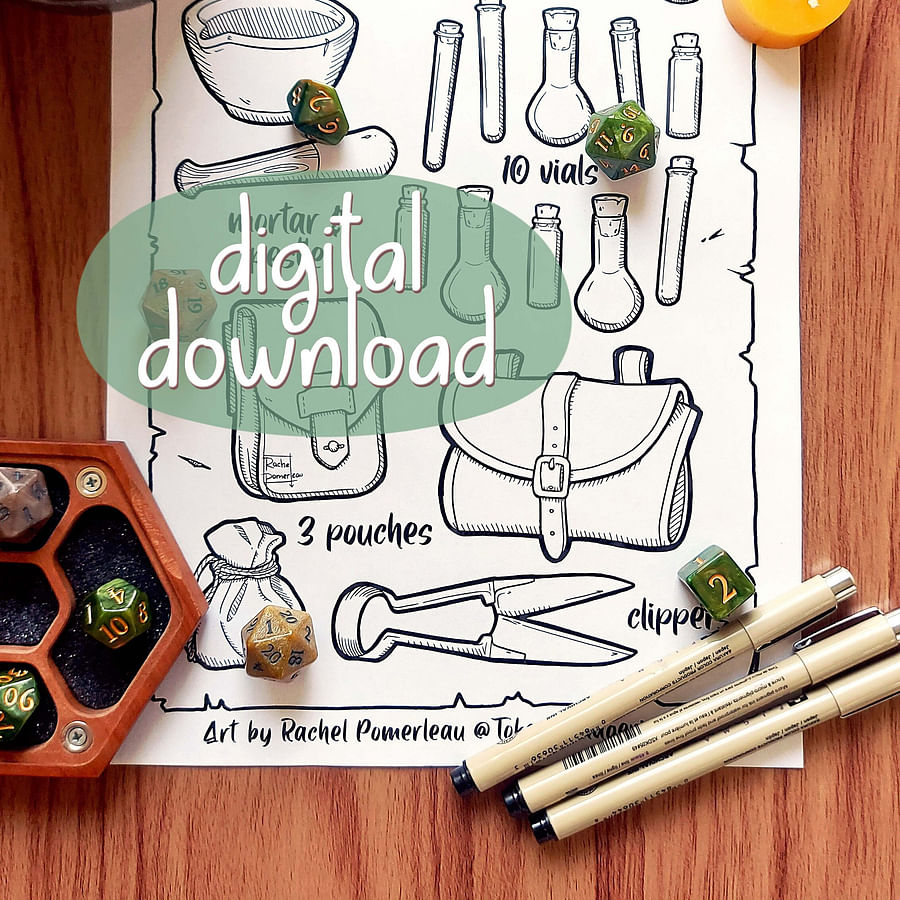
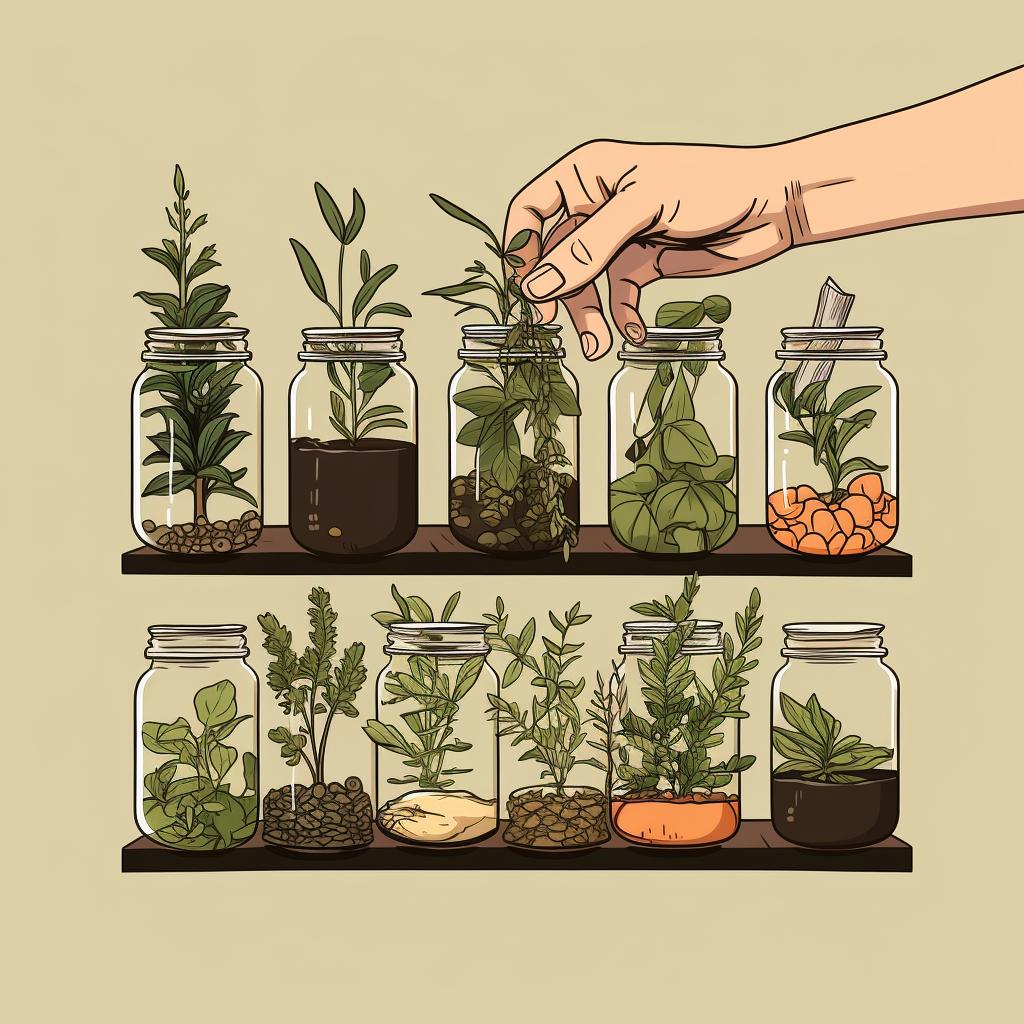
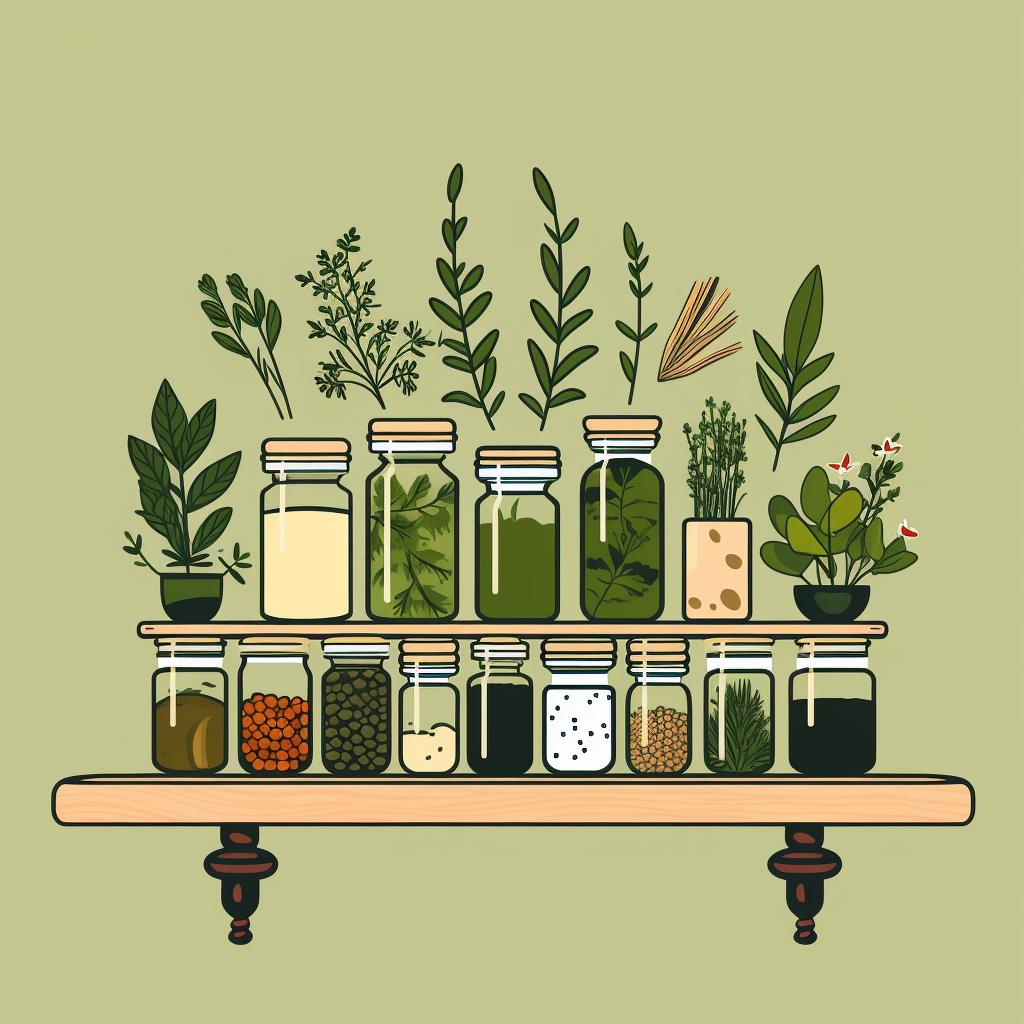
Creating your DIY herbalism kit is a journey of discovery, akin to unlocking a treasure chest of nature's bounty. Essential tools to begin your adventure include glass jars for storing your herbs and tinctures, labels for easy identification, and a mortar and pestle for grinding herbs into fine powders or pastes.
Think of your mortar and pestle as your magic wand, transforming raw herbs into potent remedies. Glass jars, on the other hand, are your faithful sentinels, preserving the potency and freshness of your herbal concoctions. Labels? They're your secret map, guiding you through your herbal inventory.
Ready to dive into the fascinating world of herbalism? Check out our step-by-step guide to making herbal tinctures at home, or explore recommended books on the benefits of herbs and how to use them. Happy brewing!
Your Herbalism Kit Blueprint: A Step-by-Step Assembly Guide
Now that we've covered the essentials for your herbalism kit, let's dive into the steps to assemble your own. Follow this guide to create a kit that suits your needs and preferences.
Assembling Your Herbalism Kit: A Step-by-Step Guide
Learn more about 🌿 Assembling Your Herbalism Kit: A Step-by-Step Guide 🌿 or discover other Local Witch Doctor guides.
Congratulations, you've assembled your own herbalism kit! Now, let's move on to how to properly store your kit to maintain the potency and freshness of your herbs.
Keeping It Fresh: How to Properly Store Your Herbalism Kit
Storing your DIY herbalism kit properly is as crucial as making it. The potency and freshness of your herbs are the lifeblood of your natural remedies. Ever wondered why your grandmother's secret healing remedies always worked like a charm? It's all about the storage!
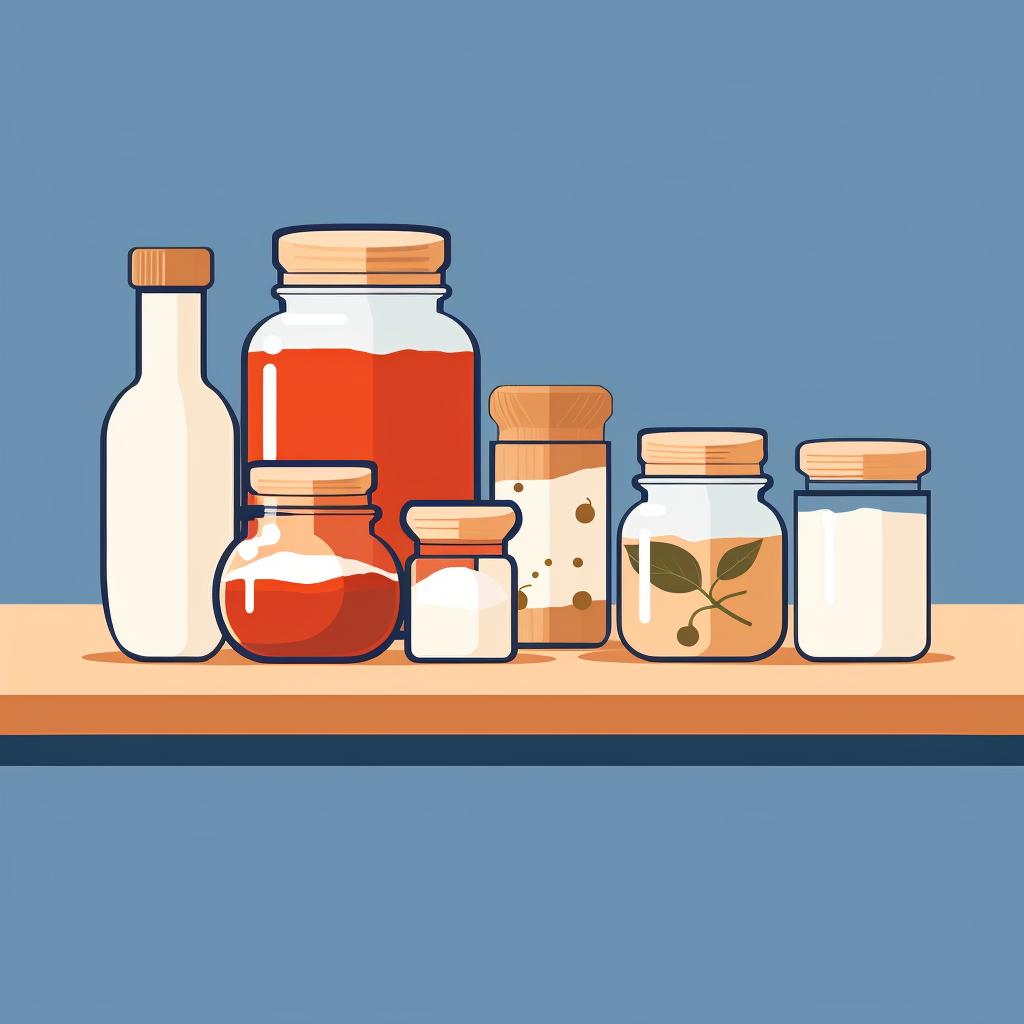
Firstly, keep your herbs in a cool, dark place, away from direct sunlight which can degrade their quality. Glass jars with airtight lids are perfect for this. Remember, moisture is an enemy; it can lead to mold and reduce shelf life. So, ensure your herbs are completely dry before storing them.
Don't forget about your tinctures. They need a cool, dark place too. Wondering how to use these tinctures? We've got you covered. Now, go ahead and create your herbal magic, knowing it will stay fresh and potent for when you need it most.
Kickstart Your Herbalism Journey: Easy Recipes to Try
Sip the Goodness: A Simple Herbal Tea Recipe
Simple Herbal Tea
You will need:
 1 tablespoon of dried chamomile flowers
 2 cups of water
 1 teaspoon of honey (optional)
 A tea infuser or strainer
Instructions
- Boil the water.
- Place the chamomile flowers in the tea infuser.
- Pour the boiling water over the infuser into a cup.
- Let the tea steep for 5-10 minutes.
- Remove the infuser and add honey if desired.
Notes
Feel free to experiment with different herbs for your tea. Mint, lavender, and lemongrass are all great choices. Always make sure your herbs are completely dry before using them to make tea.
Learn more about 🌿 Simple Herbal Tea Recipe or discover other Local Witch Doctor recipes.
Natural Healing in a Bottle: Your First Herbal Tincture Recipe
Simple Herbal Tincture
You will need:
 1 cup of fresh herbs
 2 cups of high proof alcohol
 Glass jar with airtight lid
 Cheesecloth
 Amber glass dropper bottles
Instructions
- Start by thoroughly washing your fresh herbs.
- Chop the herbs finely and place them in the glass jar.
- Pour the alcohol over the herbs until they are completely submerged.
- Seal the jar tightly and store it in a cool, dark place for 4-6 weeks.
- Shake the jar daily.
- After the steeping period, strain the mixture through a cheesecloth into the amber glass dropper bottles.
- Store the tincture in a cool, dark place.
Notes
The potency of your tincture will depend on the type of herbs used and the length of the steeping period. Always label your tinctures with the date and type of herb used.
Learn more about 🌿 Simple Herbal Tincture Recipe or discover other Local Witch Doctor recipes.
Now that we've gone through the recipe for a simple herbal tincture, let's watch a video tutorial to better understand the process. This video by Mary's Nest provides a step-by-step guide on how to make a medicinal herbal tincture using any herb.
Now that you've seen how to make a homemade herbal tincture, let's move on to discuss how to maintain your herbalism kit. Proper maintenance is crucial to ensure the potency and freshness of your herbs.
Keep Your Kit Thriving: Maintenance Tips for Your Herbalism Kit
Just like a garden, your herbalism kit needs tender love and care. The key to a thriving DIY herbalism kit lies in replenishing your herbs regularly. When you notice your stash dwindling, don't wait till you're out. Identify fresh, high-quality herbs and restock promptly to ensure your remedies maintain their potency.
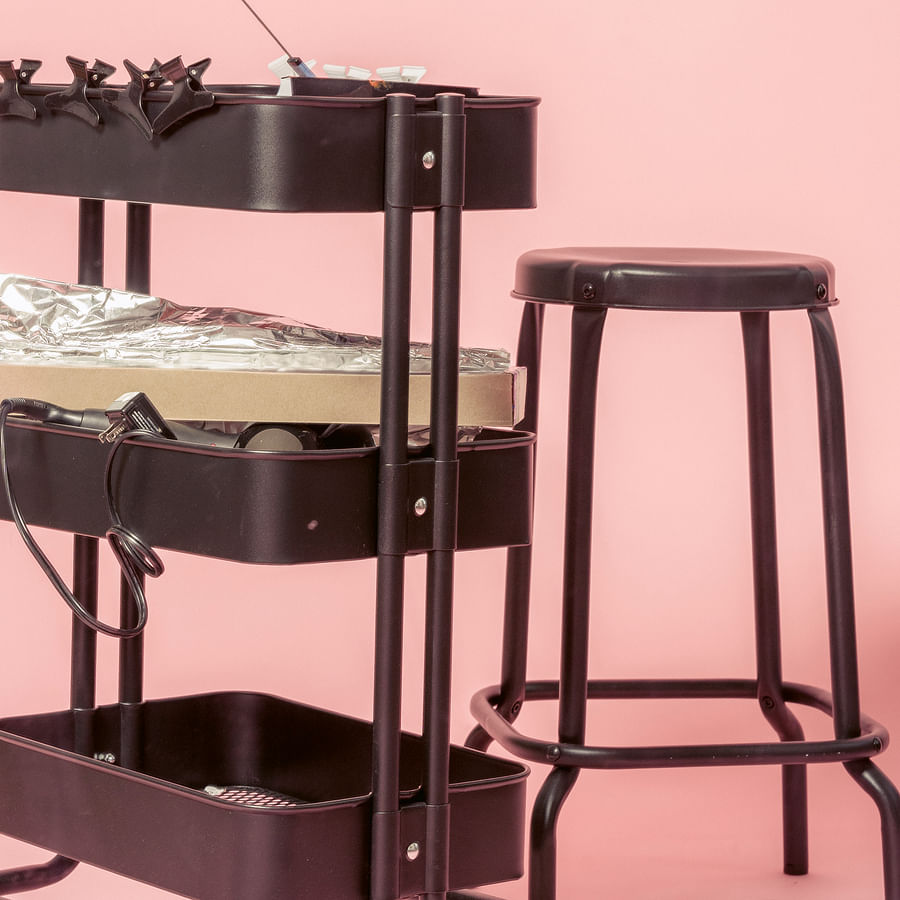
Cleaning your tools is another crucial aspect of maintaining a healthy kit. After all, you wouldn't want residues from your last concoction affecting your new brew, would you? So, wash your tools thoroughly after each use, dry them, and store in a clean, dry place.
Finally, remember to check the expiry dates of your herbs and tinctures. If you spot any signs of mould, discolouration, or off smells, it's time to discard and replace. With these simple steps, you can keep your herbalism kit in top shape, ready for your next herbal remedy.
To ensure your herbalism kit stays in top shape, here's a handy checklist you can follow:
By following this checklist, you can ensure your herbalism kit is always ready for your next herbal remedy. Now, let's conclude our guide.
Your Herbalism Adventure Awaits: What's Next?
And there you have it, fellow green-thumbed explorers, the compass to navigate your herbalism voyage. You're now equipped with the knowledge to create your DIY herbalism kit, step by step, and the recipes to initiate your journey. But the adventure doesn't end here.
Imagine the aroma of your first herbal brew wafting through your home, or the satisfaction of seeing your loved ones benefit from your homemade remedies. Intrigued? Excited? Good! That's the spirit of a true herbalist.
Remember, every great herbalist started as a beginner, as you are now. The world of natural remedies is vast, and your exploration has just begun. So, why not deep dive into the benefits of herbs and spices, learn more about tinctures, or discover new and exciting herbal recipes? The journey awaits!
What's Your Go-To Herb?
Herbs are the heart of any herbalism kit. We're curious, which herb do you reach for most often?


No comments yet. Be the first to share your thoughts!